

A dependable venue setup follows an order: read the room, secure the system, test the sources, then listen from the floor.
Arrive with an order, not a pile of gear
A calm venue night is built before the first track. The MKPULSE S15 is a powered 15-inch 2-way active PA with 400W RMS / 800W Peak, 132 dB Max SPL, dual XLR/6.35mm combo inputs, DSP modes, Bluetooth, and TWS. Those capabilities are most useful when you have a simple order for using them. Begin by reading the room, choosing speaker positions, and identifying safe power and cable paths. Equipment that arrives in a predictable sequence gets set up with less stress and fewer last-minute changes.
Check the room before lifting a stand
Walk the venue and identify the audience area, the front of the room, doorways, bar traffic, and any places people are likely to gather. The best speaker position faces listeners directly and avoids being blocked by furniture or people. Keep the S15 out of a narrow path where it can be bumped, and avoid aiming straight into a hard wall if another angle is available. This first walk often saves more time than any later adjustment. You are planning coverage, not merely finding an empty floor space.
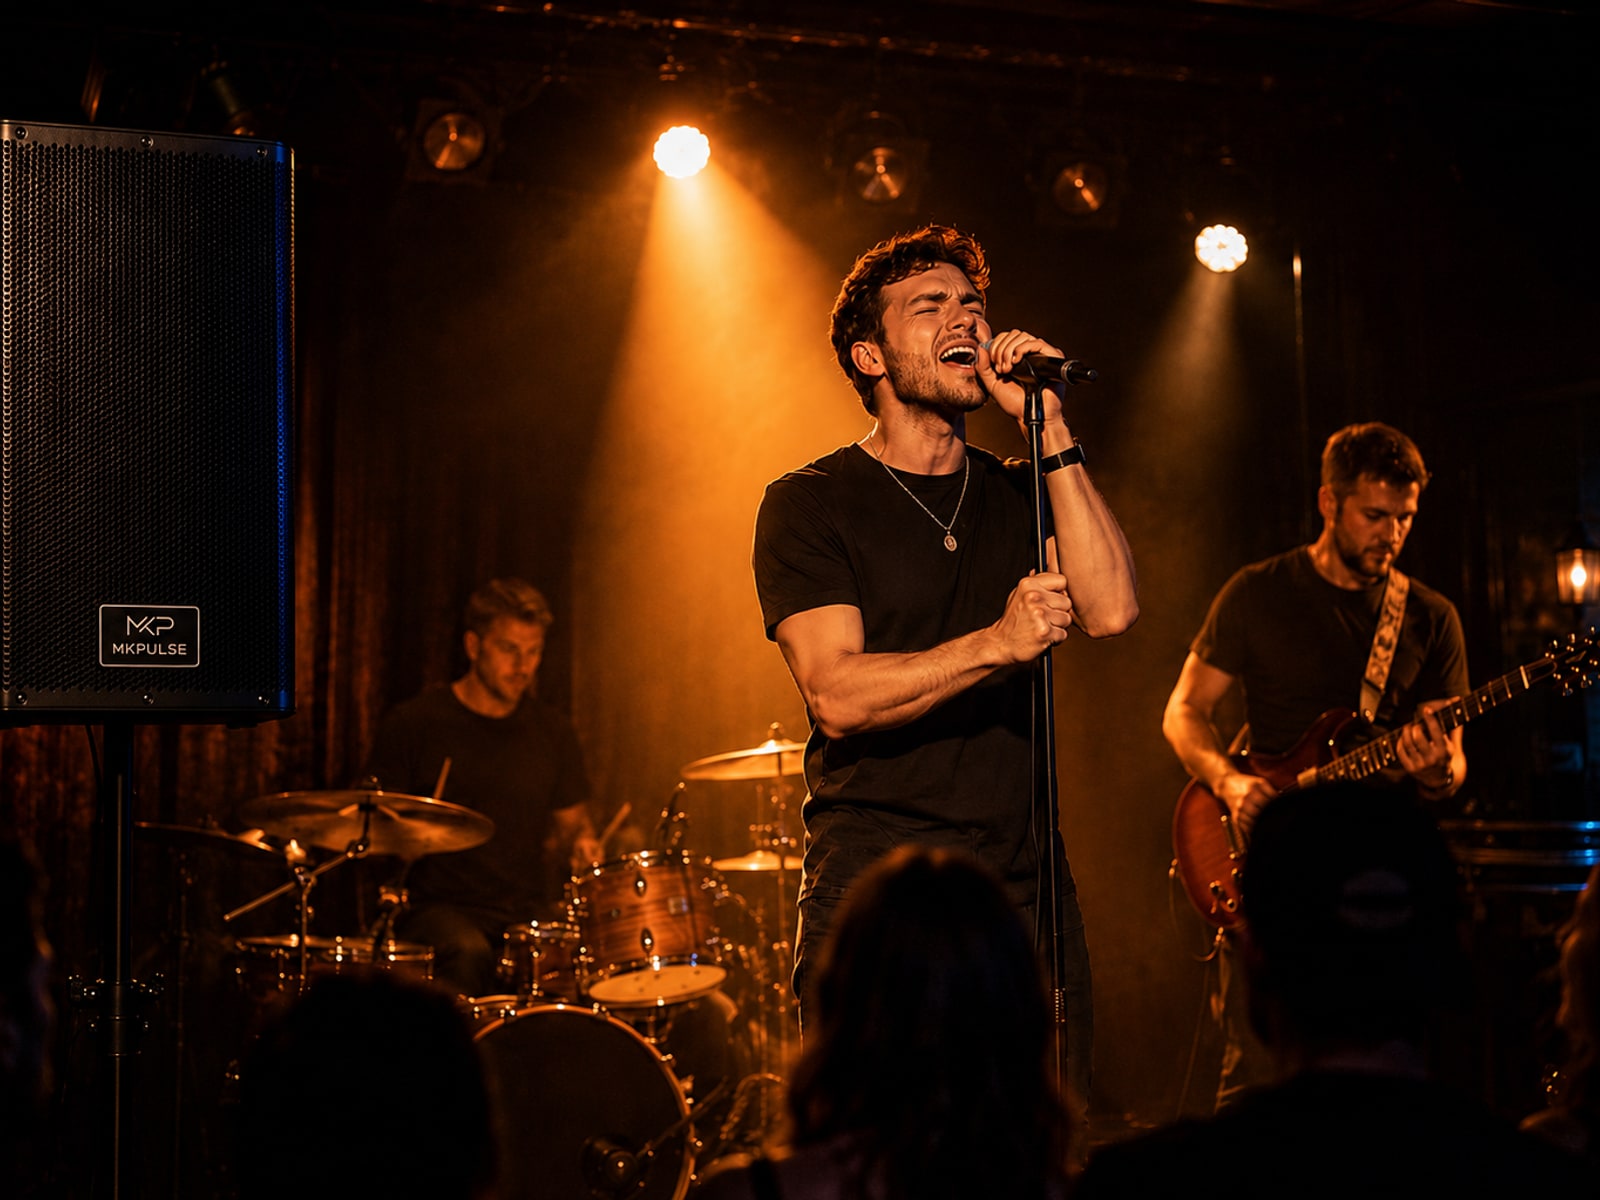
Set height and aim deliberately
If you are using a stand, make sure it is stable and set the S15 at a height that projects over nearby guests rather than into their knees. Aim toward the listening area, not toward the booth or back wall. Raise and secure the speaker before connecting sources, then step back and confirm that the cabinet is stable. In a larger room, the visual line of the speaker matters because it helps you imagine where sound will travel. Correct height and aim support clarity before you touch a level control.
A quick check before you continue
- Start at a moderate level and listen from the audience area.
- Change one setting at a time so you can hear what helped.
- Keep the setup focused on the people and the program.
Make power and cable safety part of soundcheck
Route power and audio cables so they do not create a trip hazard or get pulled by passing guests. Keep connections tidy at the booth, and give yourself enough slack to make an adjustment without unplugging everything. Power the S15 with levels down, then bring it up after sources are connected. This protects the opening moments of the check from surprises. A tidy setup is easier to diagnose later because you can see which cable belongs to which source and you have not created a maze around the equipment.

Check each input separately
Use the S15’s dual XLR/6.35mm combo inputs with an assigned purpose. Bring up the music or controller source first and verify a familiar track. Then test the mic or second source on its own. Do not assume a signal is correct because a meter or phone screen suggests it should be. Listen from the main floor. Once each input works independently, balance them together. Starting at low levels gives you room to catch a bad cable, wrong routing, or source setting before the room gets noisy.
Choose the DSP mode before doors
The S15 offers Music, Vocal, Speech, and Flat DSP modes. Select the one that matches the main task: Music for playback-driven work, Vocal for voice-forward use, Speech for announcements, or Flat when an external workflow needs a neutral reference. Test it with the actual sources you will use, then leave it stable. It is tempting to keep adjusting because the controls are available, but the audience benefits from a system that stays predictable. The right mode is a starting point supported by sensible placement and gain.
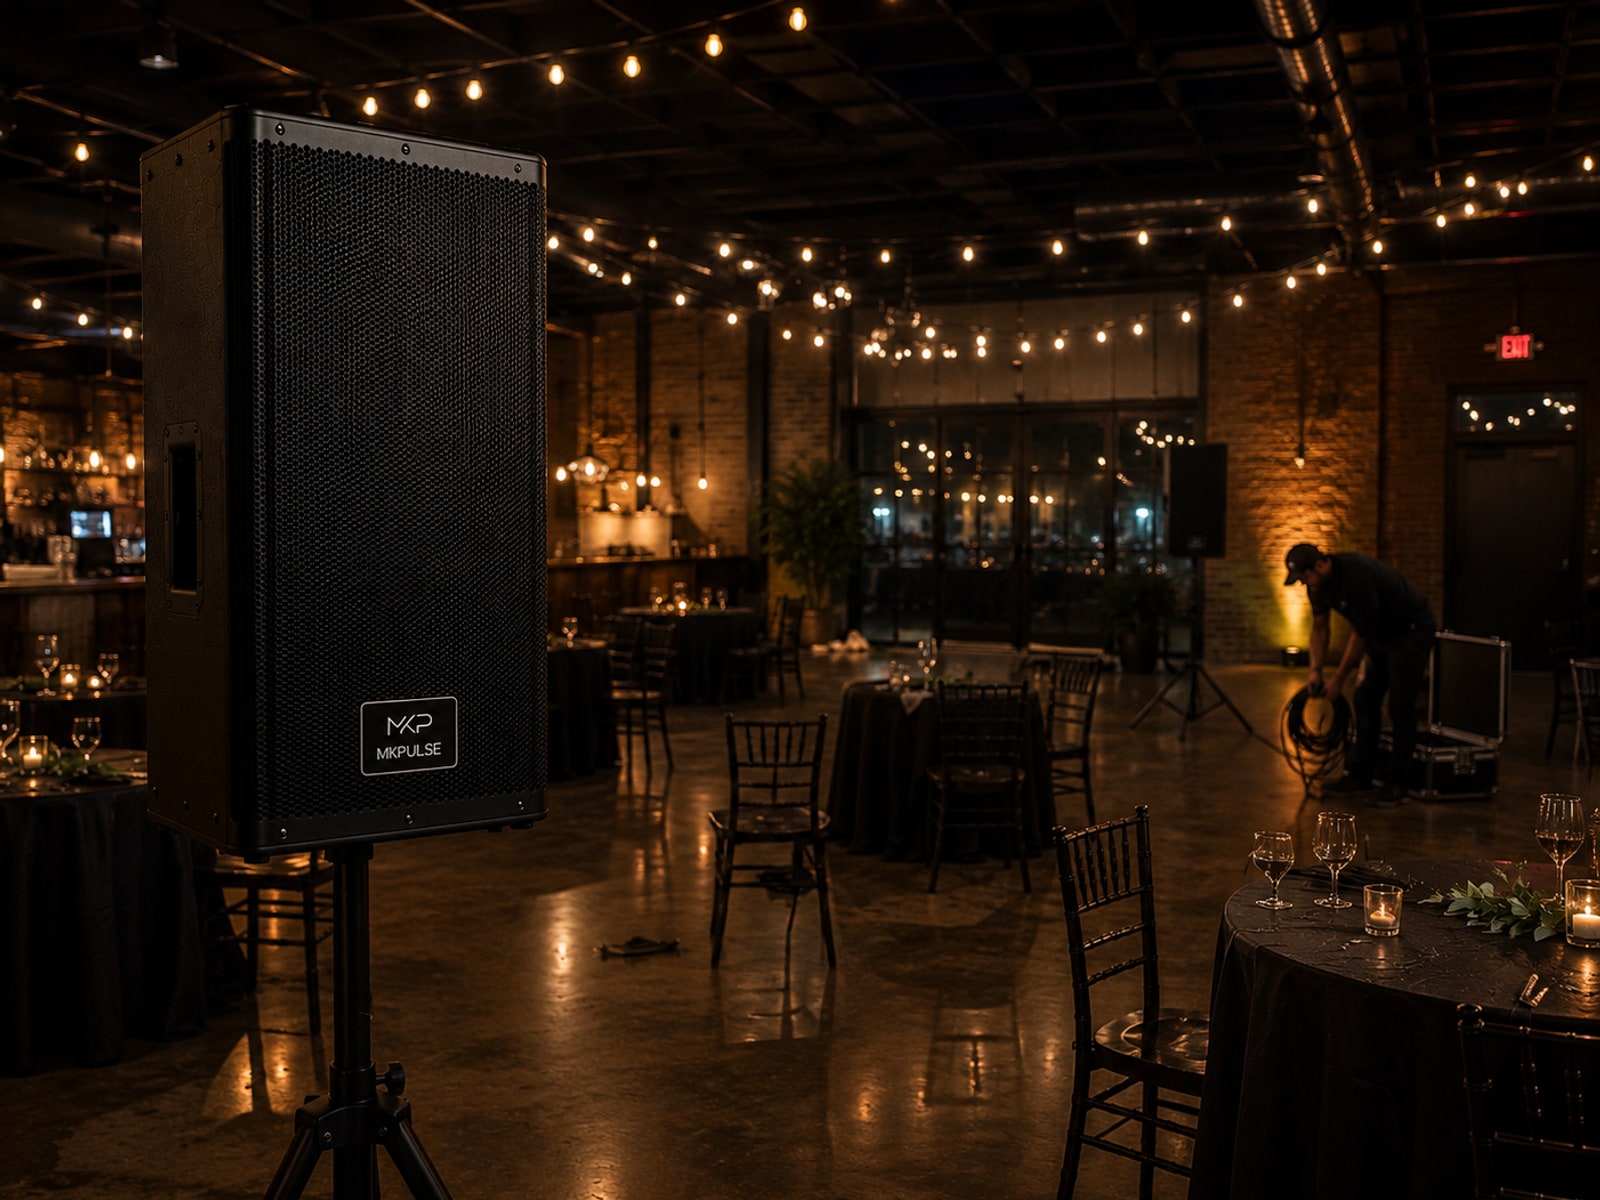
Walk the floor at show level
A sound check from behind the booth cannot reveal the entire audience experience. Ask someone to speak into the mic and play a familiar track, then walk the near, middle, and far parts of the room. Listen for words first, then for overall music balance. If the front is overwhelming and the back is weak, reassess position and aim before simply turning up. The S15 has meaningful output capability, but more level is not always more coverage. A few inches of movement can solve a problem that more volume only exaggerates.
Confirm wireless features early
Bluetooth and TWS are useful capabilities when they are part of the plan, but they should be confirmed before guests arrive. Pair Bluetooth with the intended device, test playback, and protect that device from notifications or accidental changes. If using TWS with a second speaker, complete the pairing and check both sides at modest volume. Do not make the first attempt in front of a room. A venue night rewards boring reliability: once the system is working, keep the signal path as simple as the program allows.

Keep reserve for the important moments
Do not open the night at the loudest level you think the room can tolerate. Let the room fill, then make measured adjustments. Reserve capacity is useful when a crowd becomes louder, the program shifts, or an announcement needs more presence. The S15’s 400W RMS / 800W Peak and 132 dB Max SPL specifications support substantial work, but professional control means using only what the room requires. Check back after the first busy period. Conditions change as bodies, conversation, and doors change the space.
Pack down as carefully as you loaded in
After the final track, lower levels, power down in an orderly sequence, disconnect sources, and coil cables without pulling on connectors. Let the S15 come down from its stand with the same attention you gave it going up. Note any issue that appeared during the night while it is still fresh: a position you would change, a cable to replace, or a DSP mode that worked well. This is how a checklist improves over time. A reliable venue system is one you can repeat, not one you managed to rescue.
Confirm the schedule, not only the sound
Ask the venue or host when doors open, when a speaker needs a microphone, whether there are planned announcements, and when the program changes from background music to active entertainment. Put those moments into your own setup timeline. A sound system can be technically correct and still miss the event if the microphone is not ready before a welcome or if a source device is being moved during a transition. The S15’s inputs and DSP modes give you options; a clear schedule tells you when each option needs to be ready.
Protect the speaking position
Find out where a host, performer, or announcer will stand and keep that area free of loose cables, drink tables, and speaker obstacles. Test the microphone from that exact position, not only from the booth. If a presenter needs to walk, establish the boundary that keeps the mic behind the S15’s main projection line. Tell the presenter where to return the mic after use, especially in a busy venue. This small piece of stage management supports speech intelligibility and means the equipment does not become an accidental obstacle during a key moment.
Check again after the room fills
The empty-room check is only the first check. Once the venue has people, conversation and bodies change how the room feels. During an appropriate moment, walk beyond the booth and listen for whether the main program still reaches the back comfortably. Make one measured adjustment if needed, then leave the system stable. The S15’s 400W RMS / 800W Peak and 132 dB Max SPL specifications provide meaningful range, but a busy room rewards measured changes. Staff and guests notice steadiness more than they notice a volume control moving every few minutes.
Keep a small contingency kit
A venue checklist should account for the small items that can delay a good setup: spare audio cables, a power extension approved for the venue, tape or cable covers where appropriate, a phone charging lead, and a written contact for the host. Keep these items organized separately from the S15 so they can be found quickly. Before doors, confirm that the source device will stay powered and that any microphone user knows where to stand. The S15’s dual combo inputs and DSP choices make it flexible, but preparation around the speaker is what keeps a routine venue issue from becoming an interruption everyone notices.
Manage the first fifteen minutes
The opening part of a show is when people form an impression of the sound. Start with controlled background music rather than maximum energy, watch how staff and guests use the room, and keep the microphone available for an early welcome. Listen for rattles, cable movement, or an area that became blocked after furniture was placed. If a change is needed, make it before the room reaches its busiest point. This approach uses the S15’s 400W RMS capability as reserve instead of spending it immediately. A steady beginning gives you better information for the rest of the night.
Choose the next right step
The best sound choice is the one that matches the job in front of you. Explore the MKPULSE S15 You can also compare MKPULSE speaker options or keep planning with the MKPULSE Journal.