

The S15’s DSP modes and dual combo inputs are most useful when each source has a clear role before soundcheck begins.
Start with a clean signal path
The fastest way to make an S15 setup predictable is to decide what each source will do before you connect it. The MKPULSE S15 is a powered 15-inch 2-way active PA with dual XLR/6.35mm combo inputs, so it can accommodate a practical mic-and-line arrangement without immediately adding more equipment. Assign one input to the primary playback source and one to a microphone or secondary source. Set levels low before power-up, then bring sources in one at a time. Clear assignments make troubleshooting much easier in a busy room.
Music mode for playback-led events
Music DSP mode is the natural first stop for DJ playback, a playlist, or an event where recorded tracks are the main program. Start with a familiar song at a moderate level and listen from the audience area, not only beside the speaker. The goal is an enjoyable balance that leaves room for people to talk and for the event to grow. The S15’s 400W RMS / 800W Peak and 132 dB Max SPL specifications provide substantial capability; your job is to use that capability with control rather than treating a high setting as proof of a successful setup.

Vocal mode when voices lead
Vocal mode gives you a useful starting point when singers, presenters, or host-led moments matter. A starting point is exactly that: it does not replace microphone technique or placement. Ask the user to speak or sing at their real performance level, then listen at the farthest expected audience position. Keep a live microphone behind the speaker’s forward-facing plane and raise its level gradually. If feedback appears, reduce the mic level and change the physical relationship between mic and speaker before assuming a more complicated setting is required.
A quick check before you continue
- Start at a moderate level and listen from the audience area.
- Change one setting at a time so you can hear what helped.
- Keep the setup focused on the people and the program.
Speech mode for intelligibility
Speech mode is designed for the jobs where each word matters: an opening welcome, training session, ceremony, auction, or short set of announcements. Turn music down while you test. A normal speaking voice should remain understandable without forcing the host to shout. In rooms with reflective surfaces, moving the S15 a little farther from a wall or aiming it more directly at the audience can improve clarity immediately. A speech system succeeds when the audience notices the message, not the hardware.

Flat mode as a neutral reference
Flat mode is valuable when you want the cleanest starting reference for a mixer, controller, or existing production workflow. It does not mean the speaker will sound unfinished; it means you begin without selecting a program-specific emphasis. That can be the sensible approach when an external source already has careful processing or when you need consistency across several parts of an event. Check the result with the same familiar track and spoken test you use elsewhere. Consistent test material makes changes easier to evaluate honestly.
Understanding combo inputs
An XLR/6.35mm combo input accepts either connector format at the same physical input. That flexibility is useful in real event work, where one source may arrive on XLR and another on a 6.35mm connection. It does not remove the need to identify the source type and set a sensible gain. Connect one source at a time, bring it up carefully, and verify that it is clear before adding another. Avoid using level controls as if they were on/off switches. Small adjustments preserve balance and make it easier to hear what changed.
A practical two-source workflow
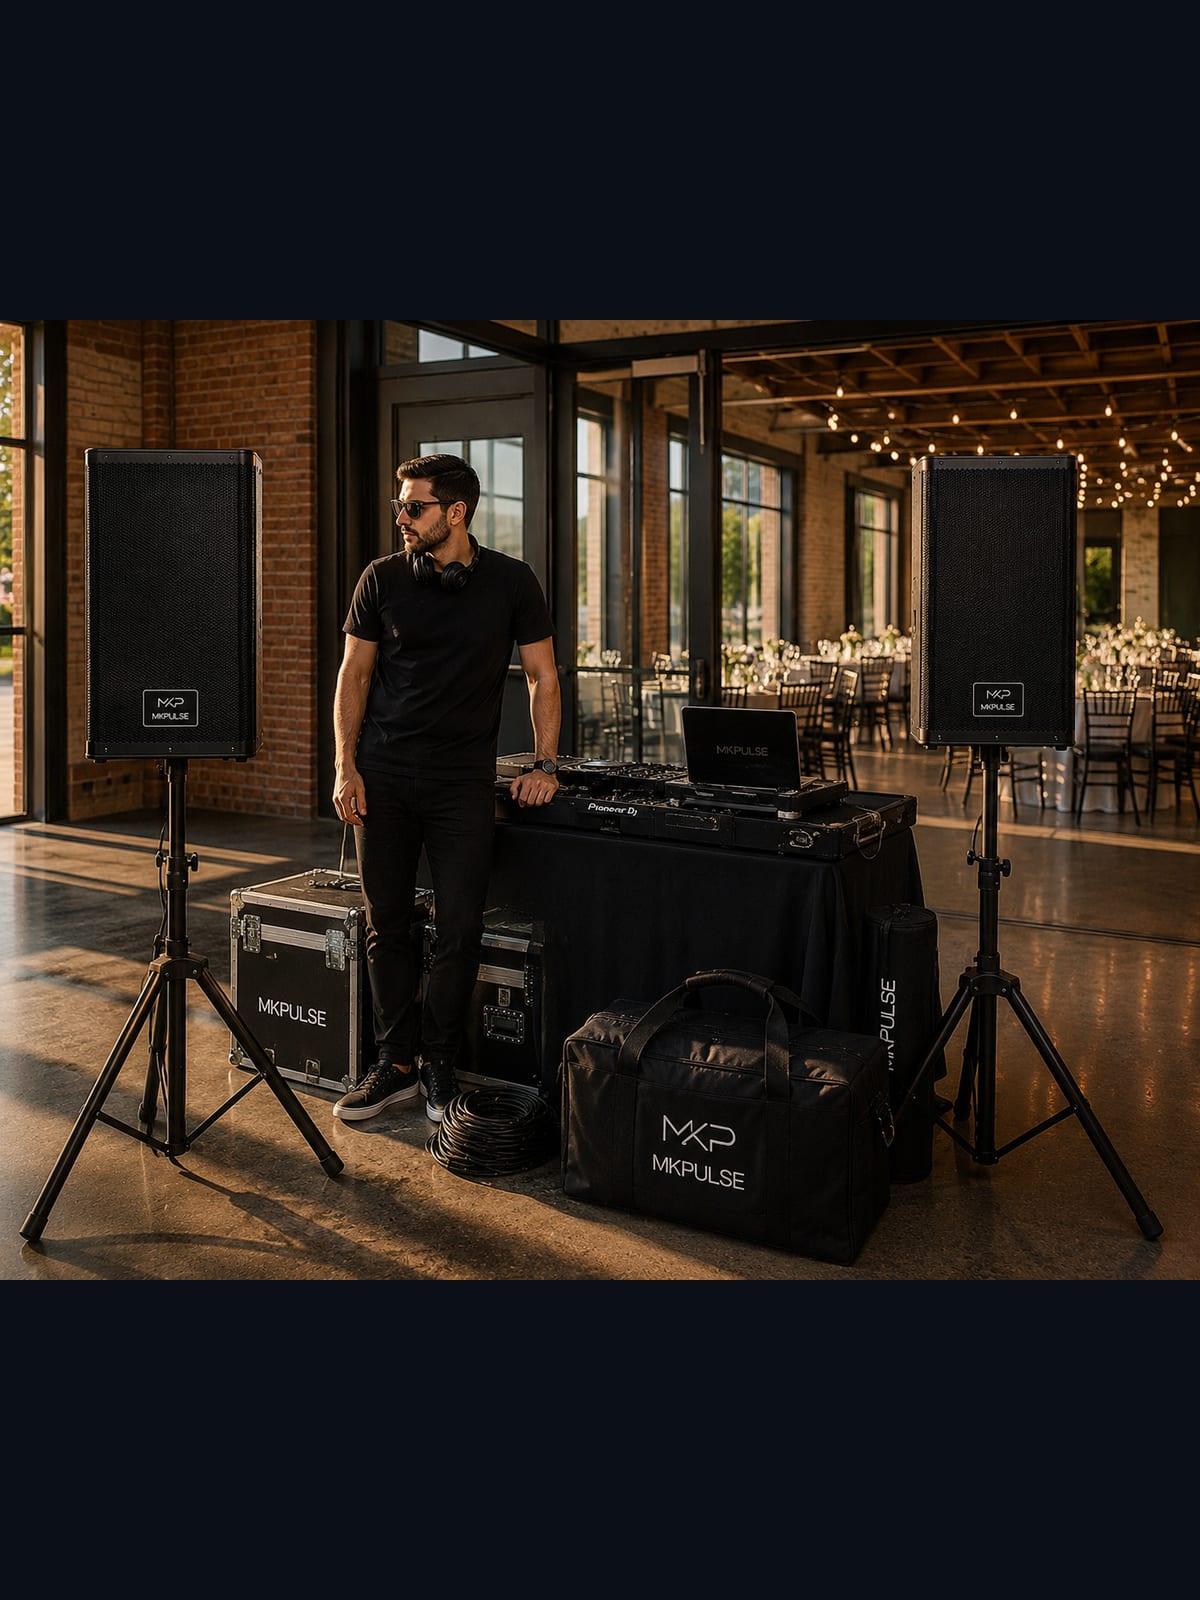
For a typical hosted night, connect the main music or DJ source first and establish a moderate reference level. Then connect the microphone to the second combo input, set it for clear speech, and return briefly to music. This reveals whether the two sources feel balanced before anyone is waiting to speak. Keep the host’s mic ready but avoid leaving it unnecessarily loud between announcements. The S15’s dual inputs make this workflow direct; disciplined gain staging is what keeps it clean.
Bluetooth and TWS in context
Bluetooth can be useful for simple playback and quick source changes, while TWS pairing can support a broader two-speaker setup when the layout calls for it. Confirm any wireless connection before the room fills and keep the source device where it cannot be accidentally disconnected. For a critical primary program, use the connection method that gives you the most confidence for the job. The benefit of the S15 is flexibility: it gives you choices, but a good event still comes from choosing the simplest dependable path.
Make one change at a time
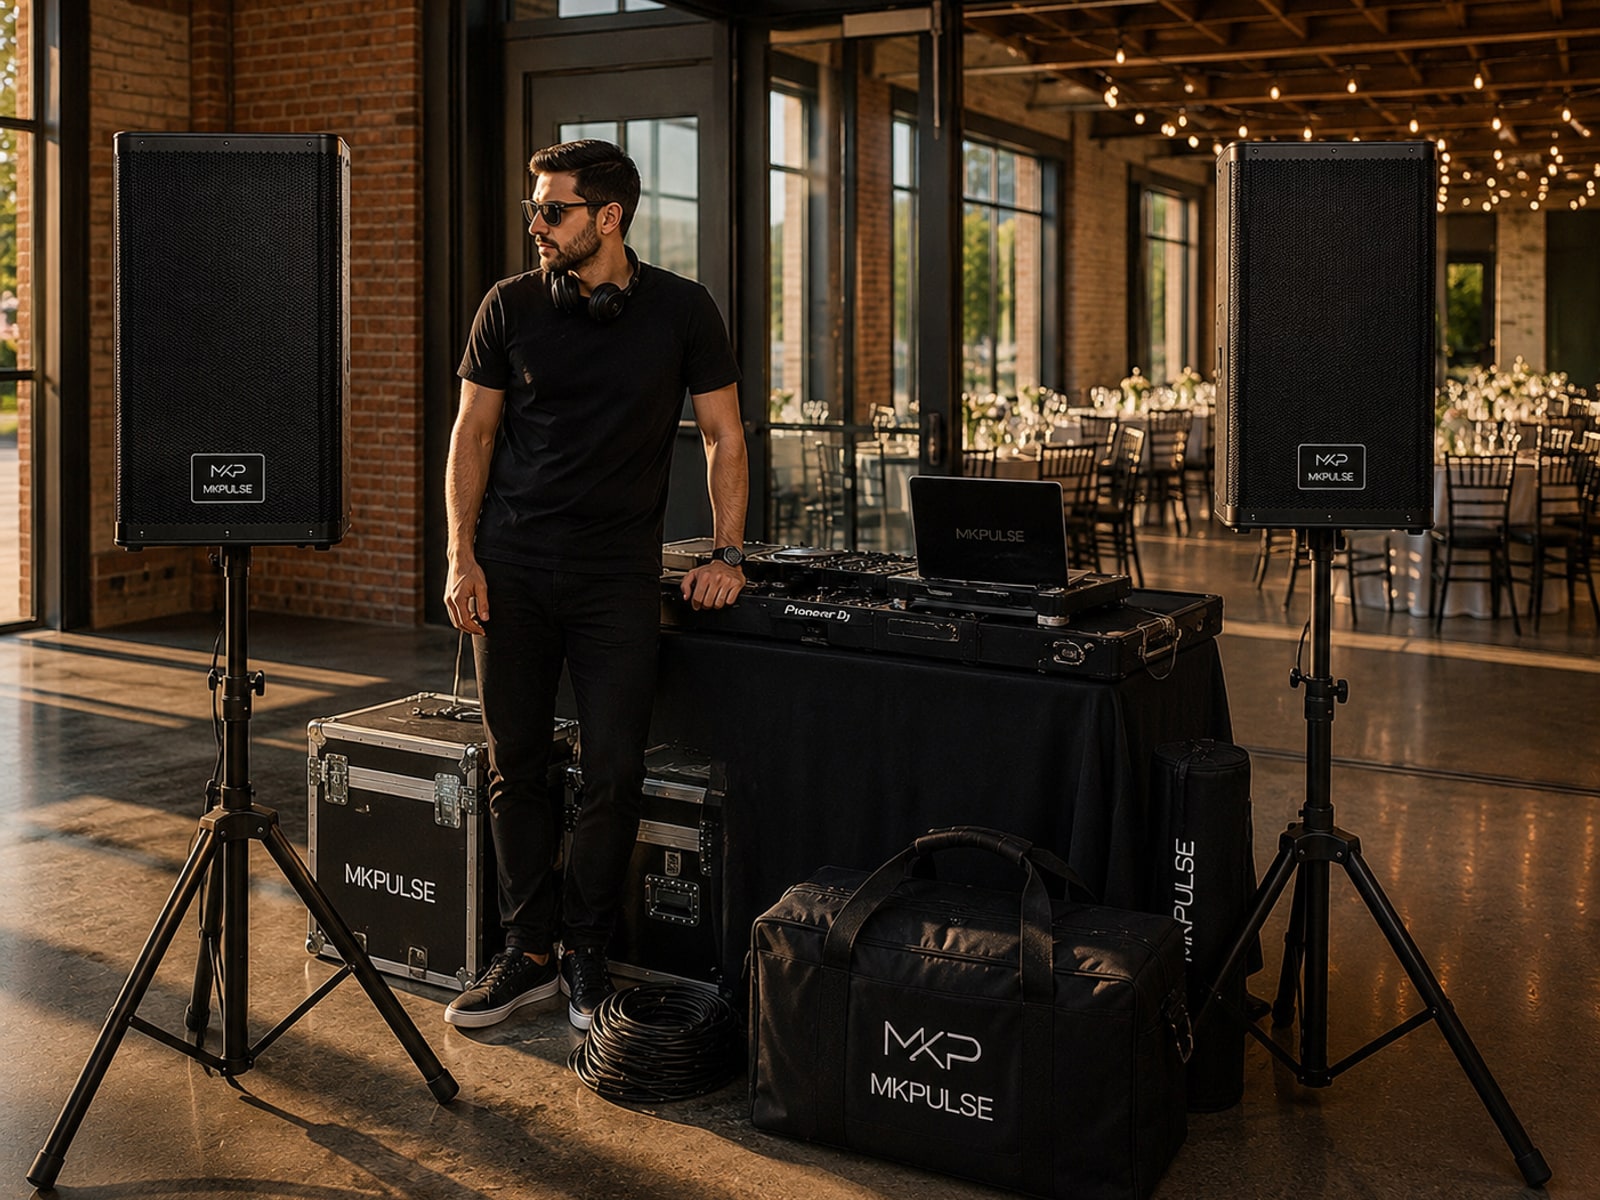
When the sound needs improvement, change one variable and listen again. Do not change the DSP mode, source volume, channel level, and speaker location all at once; doing so makes it impossible to learn what helped. Begin with placement and input level, select the most appropriate mode, then walk the floor. This measured approach turns the S15’s useful DSP and input options into a repeatable system rather than a panel of guesses. It also gives the audience a more comfortable, professional experience.
Label sources before you begin
When two inputs are available, decide in advance which source occupies each one. For example, make input one the controller or mixer and input two the host microphone. Place a small label on cables or use a repeatable color convention if you work regularly. This simple discipline means that when a signal changes, you know where to look. The S15’s dual XLR/6.35mm combo inputs are flexible, but flexibility is easiest to use when the signal path is visibly organized and no one is guessing which lead feeds the music.
Balance channels with real material
Use a normal speaking voice and a familiar track when setting levels. A whispered mic test does not represent a presenter, and a heavily compressed demo track does not represent every part of a playlist. Start with each source alone, then combine them at the levels likely during the show. If a host needs to speak over music, lower music first rather than forcing the microphone upward. This preserves clarity and creates a more comfortable mix. The S15’s DSP mode should support that balance, not substitute for it.
Keep a flat reference in mind
Even when Music, Vocal, or Speech is clearly suited to the event, it is useful to know what Flat offers: a neutral point for checking the influence of the selected mode or working with a carefully prepared external source. Make this comparison before doors, not during a busy moment. Play the same short section of music and the same spoken test, then choose the setting that works across the room. A repeatable reference turns DSP from a menu of assumptions into an informed decision you can make confidently at future events.
Set gains in a sensible order
Gain staging is simply the discipline of allowing each part of the signal path to do its job without forcing the next part to compensate. On the S15, begin with the main source at a sensible output level, bring up its combo input gradually, and establish a comfortable room reference. Then add the microphone or second source and adjust it against that reference. If the voice is hard to hear, lower music first before repeatedly raising the mic. This keeps the mix clear and leaves room for the program to change. It also makes the selected Music, Vocal, Speech, or Flat mode easier to judge honestly.
Use physical placement to solve problems
DSP choices are valuable, but they cannot entirely correct a speaker that is aimed at the wrong place. Place the S15 where it has a direct path to the audience, raise it safely when appropriate, and keep live microphones behind its projection line. In a reflective room, a slight change in aim can improve speech far more than a dramatic mode change. Listen while standing with guests rather than only at the control position. This audience perspective tells you whether your input assignments, DSP choice, and cabinet placement are working together as one system instead of fighting one another.
Document what worked
After the event, write down the DSP mode, source assignment, speaker position, and room adjustment that worked best. These notes make the next setup faster and more reliable. Over time, you will recognize which rooms favor a particular aim, which programs need a clearer speech check, and how the S15’s input workflow can be prepared before the room becomes busy.

Choose the next right step
The best sound choice is the one that matches the job in front of you. Explore the MKPULSE S15 You can also compare MKPULSE speaker options or keep planning with the MKPULSE Journal.